<< Back to the Little Box blog
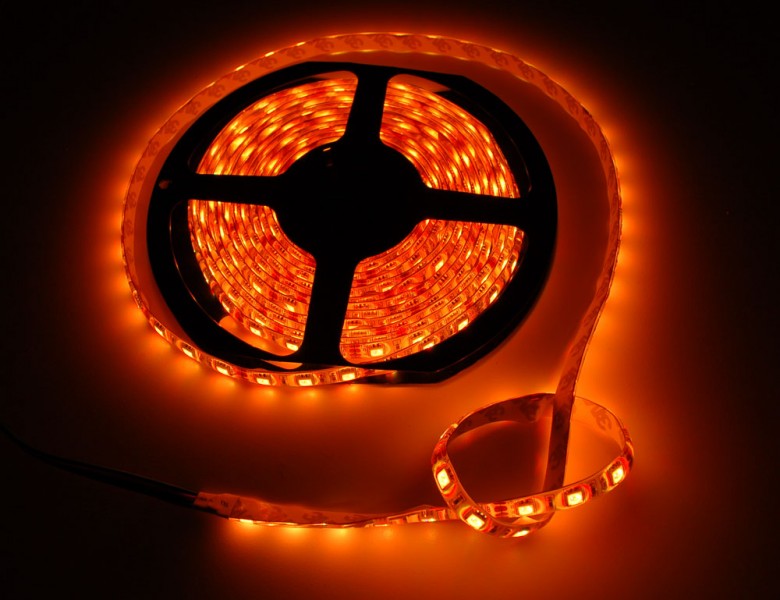
We are working with the LED Strip lights which come 60/meter and were purchased from Adafruit. These LEDs are Non-Addressable but can be cut every 3 LEDs. We purchase 15 meters and used them throughout the box.
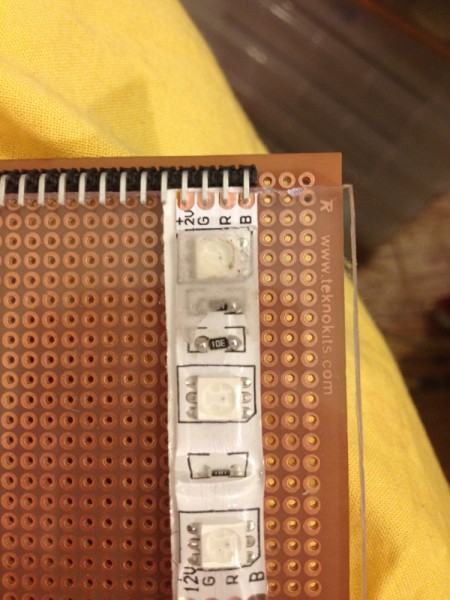
Although the LEDs can be cut every 3, the provided soldering pads are very sensitive and can be ruined with too much heat, during de-soldering, or if cut improperly. We were aware of this before we soldered, so we wanted to create a system which would minimize the stress on the solder point. We came up with the solution to use header pins and pcb board. This way we could solder up all the pins for the lights, make the LEDs removable, and also make them secure. This minimized the amount of time the head was touching the LED strip, which ensured that we weren’t burning the connection.
The process for soldering is outlined below:
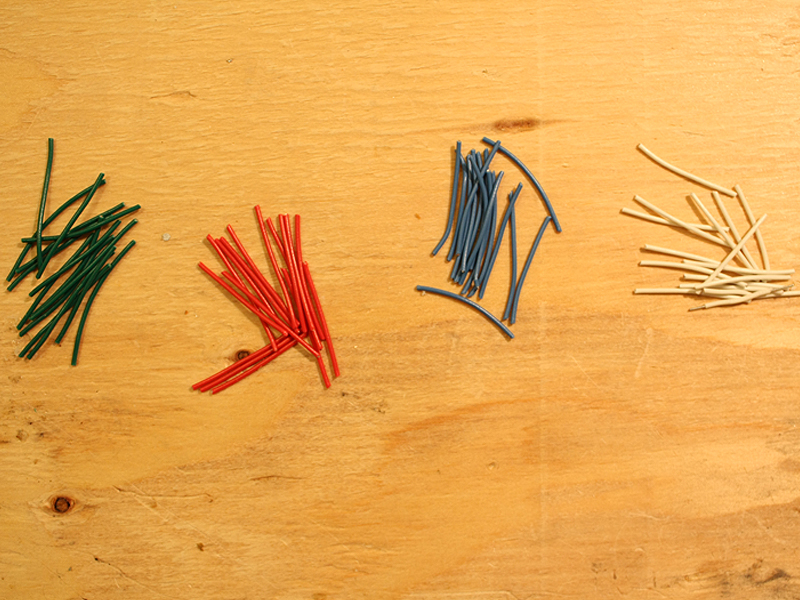
1) Cut, stip and bend the wires to length. You’ll need a wire for each color and for the +12V power input
2) Place the header pins through the PCB board and solder the connections accordingly. We noticed in our strip that Adafruit had the call outs for the colors switched, so the Green was the Blue and vice versa. Be sure to check your strand.
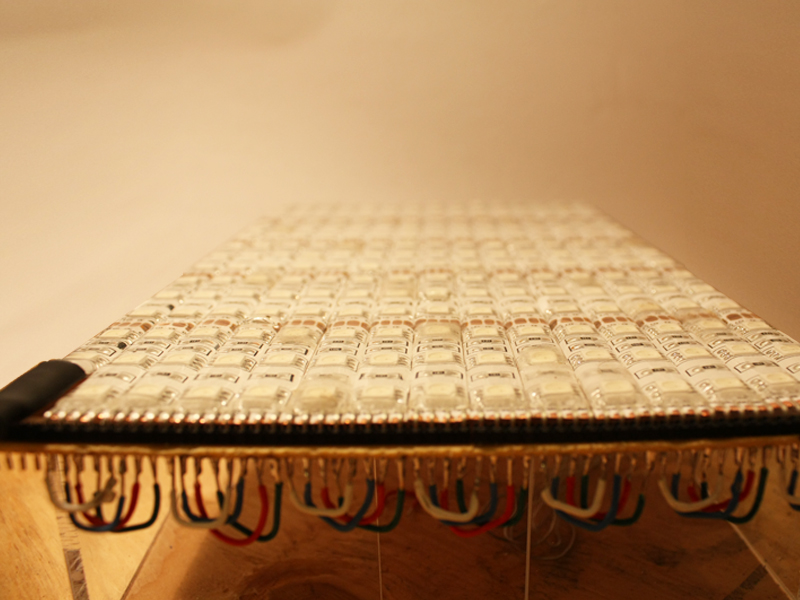
We selected headers which have an approximately 90 degree bend to them so as not to create shadows. We glued our PCB board to a plate so that it could be removable in our system and also laser cut risers to elevate the lights off the base of the box. This will also provide space for us to hide the electronics underneath the riser without interfering with the lighting.
3) Lay down your LED strips cut to length. In our case we needed 5 sets of 3, or 15 LEDs per strand. Solder between the headers and the pads provided on the strip. Be careful not to apply too much heat too or you could damage the 3 LEDs closest to the solder point.


