<< Back to the Little Box blog
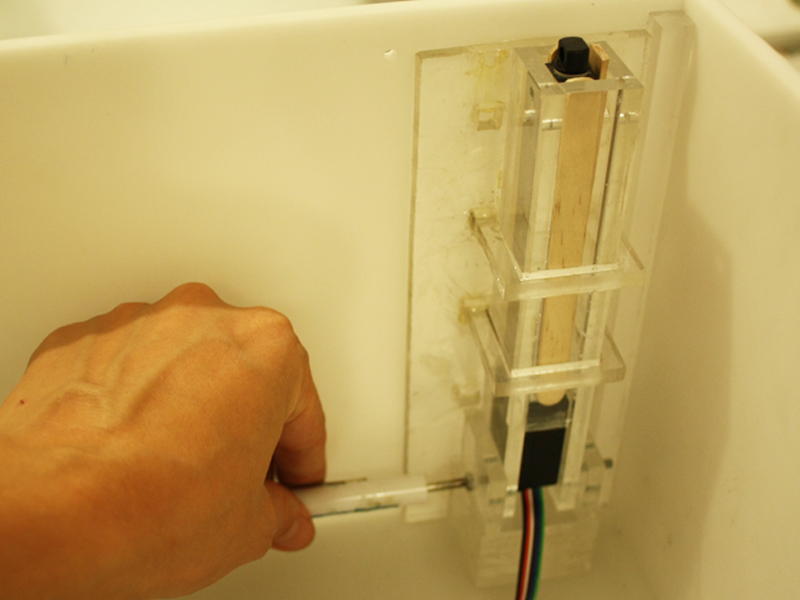
To house the actuators within the box we knew we needed to create a cage that would secure the actuators in place without vibration and also allow the actuators to be removable in case, for some reason, they broke. We came up with a “cage” that would be partly secured to the back of the box with a housing around the actuators themselves.
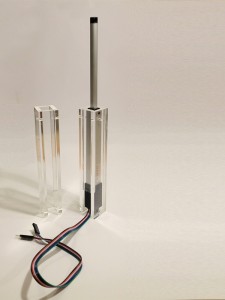
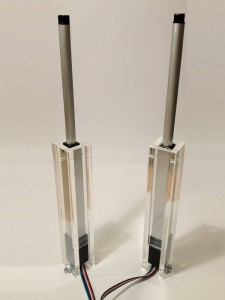
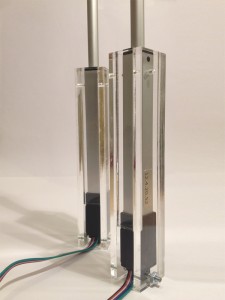
We first created housing for the actuators themselves. Here you can see we left room in the housing for the motor to remain open, which helped with overheating issues, but also allowed the wires to be free. We created holes for a bolt to slide through and secure the actuator to the housing.
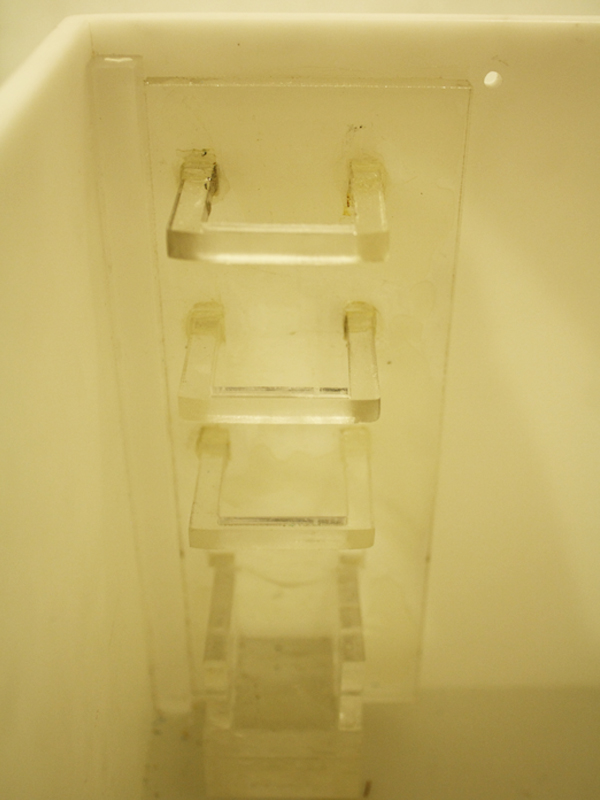
These pieces slip into a cage that was glued into the back of the box. The cages were elevated to get the actuators flush with the bottom of the tray. We dropped them down 1/16 of an inch below the bottom so that we weren’t resting the weight of the tray on the actuator housing.
They are secured in place with a nut and bolt and have wood to help dampen any noise from vibration.
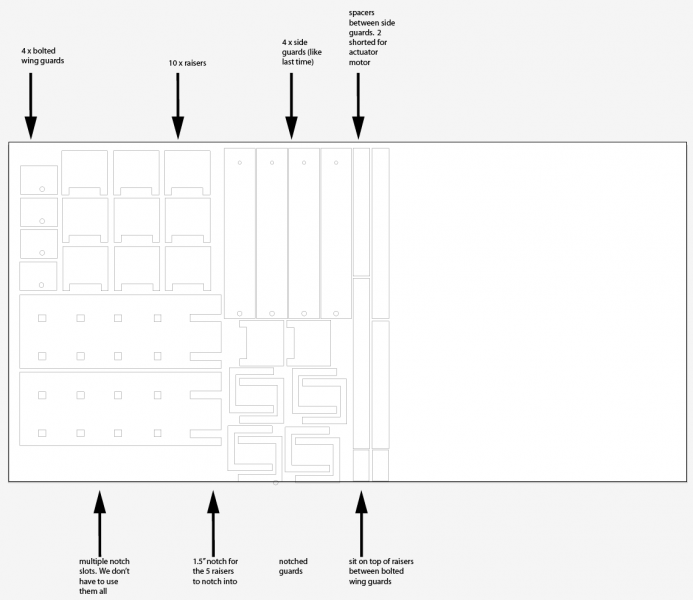
The drawing for laser cutting all these pieces is below. We used 1/4″ clear acrylic to so as to minimize the shadows created by the housing.

